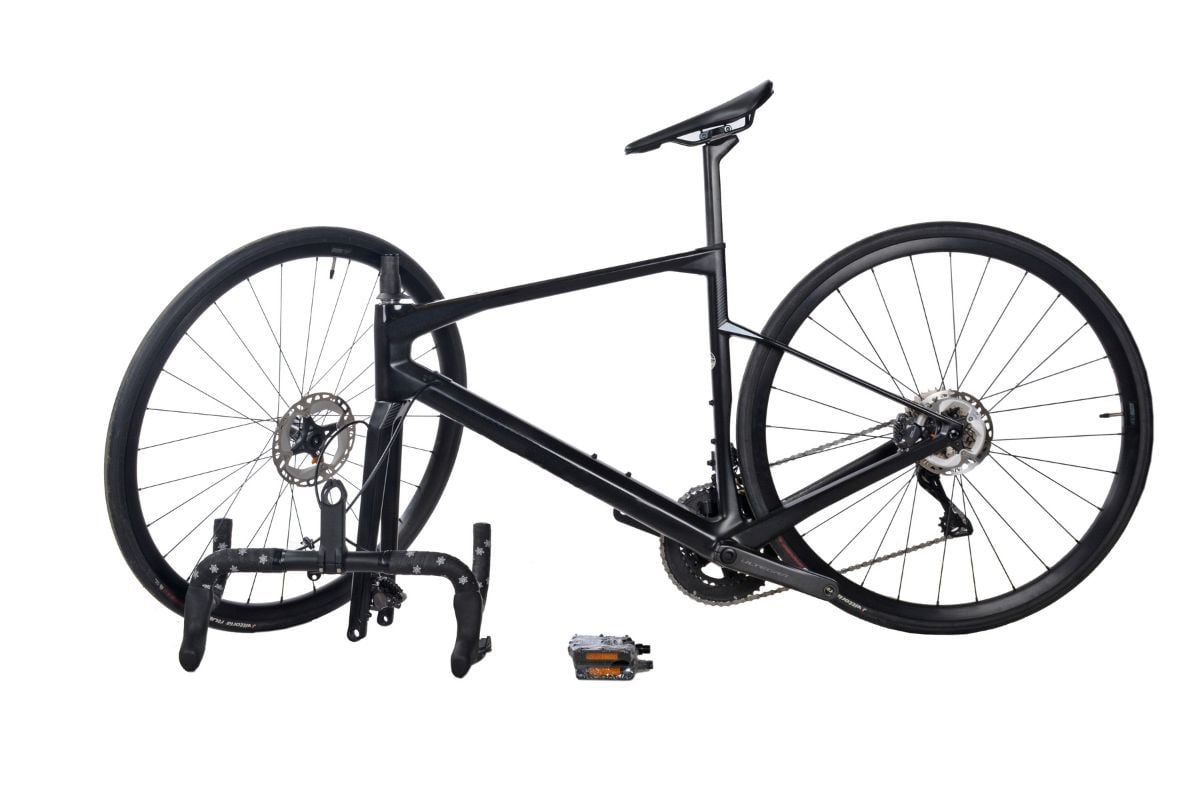
You have just had your bike delivered to your home, now it's time to assemble it! You're not sure how to do it, which way to tighten it, in which order to assemble the different parts? Don't stress, follow our advice and you will quickly have a perfectly assembled bike in working order for its first rides! You don't even need to have a whole set of tools, all the steps presented here are 100% achievable with a classic multi-tool.
Step 1: Unpacking and visual inspection
Open the box that was delivered to you, and make sure you have the bike, front wheel, seat post and accessory box containing the pedals if your bike came with them. Do an initial visual inspection here to make sure there is no obvious damage from shipping.
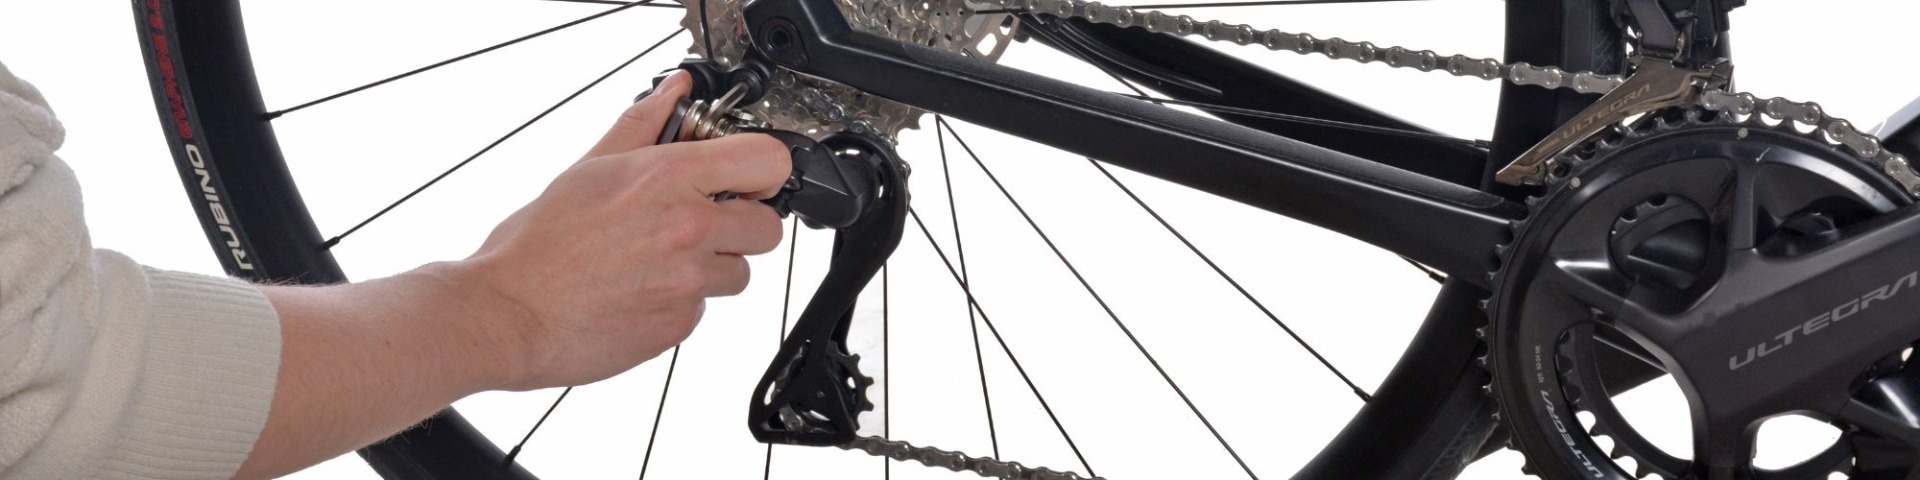
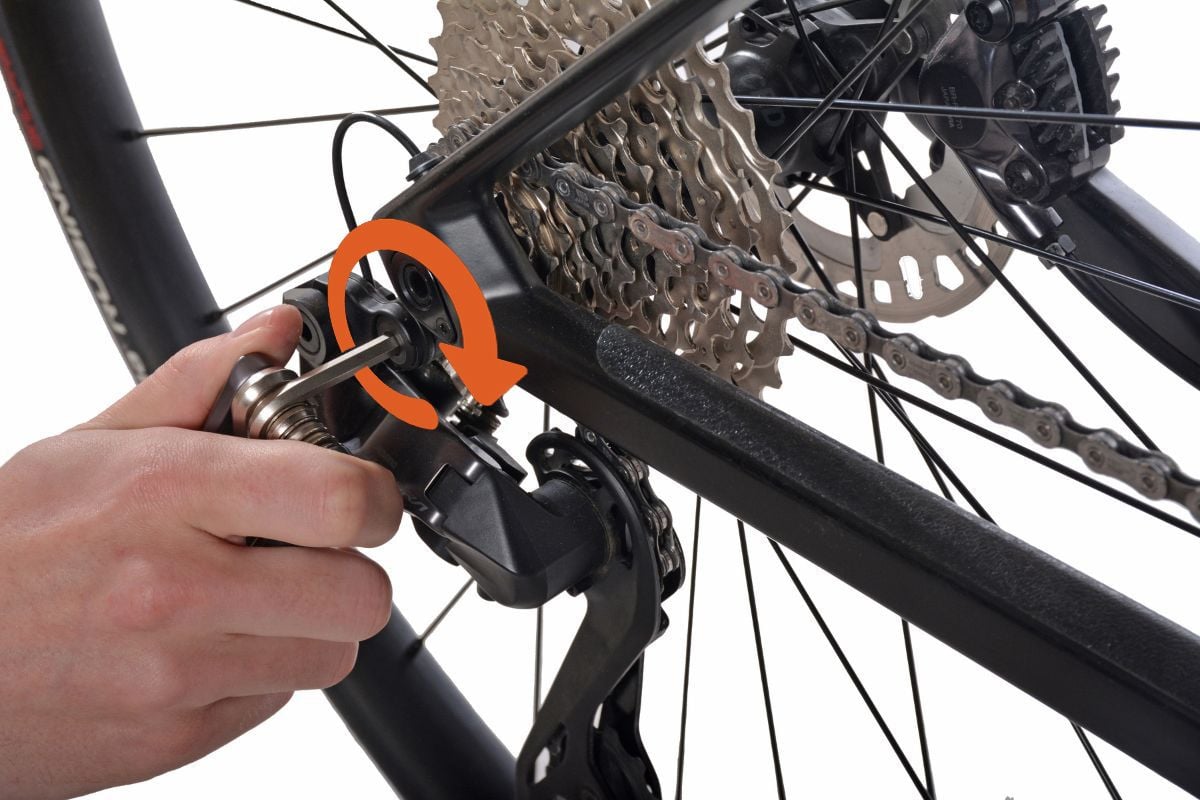
Step 2: tightening the rear derailleur
Screw the rear derailleur on its bracket at the end of the seat stays. Be careful to respect the manufacturer's recommendations for the tightening force, often indicated on the frame where the screw is located.
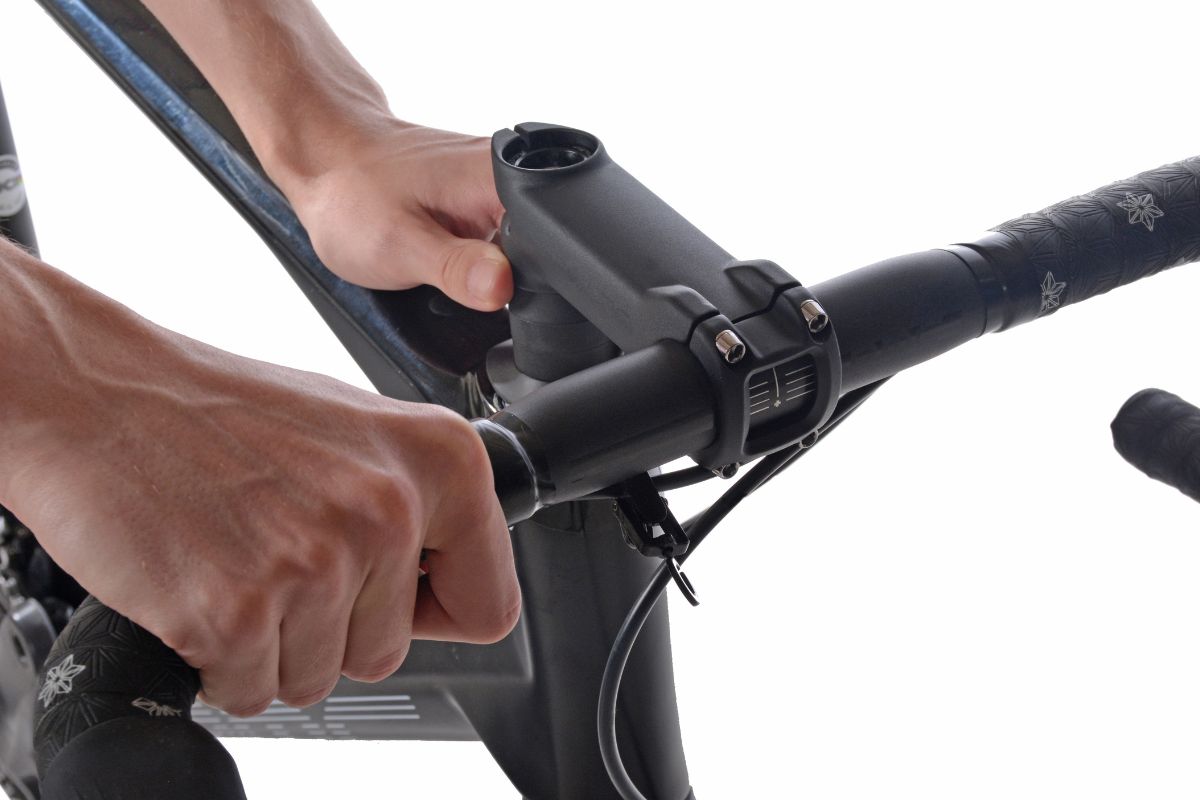
Step 3: Installation of the stem
Present and insert the stem that holds the handlebars of your bike, on the steering stem, at the front of the bike.
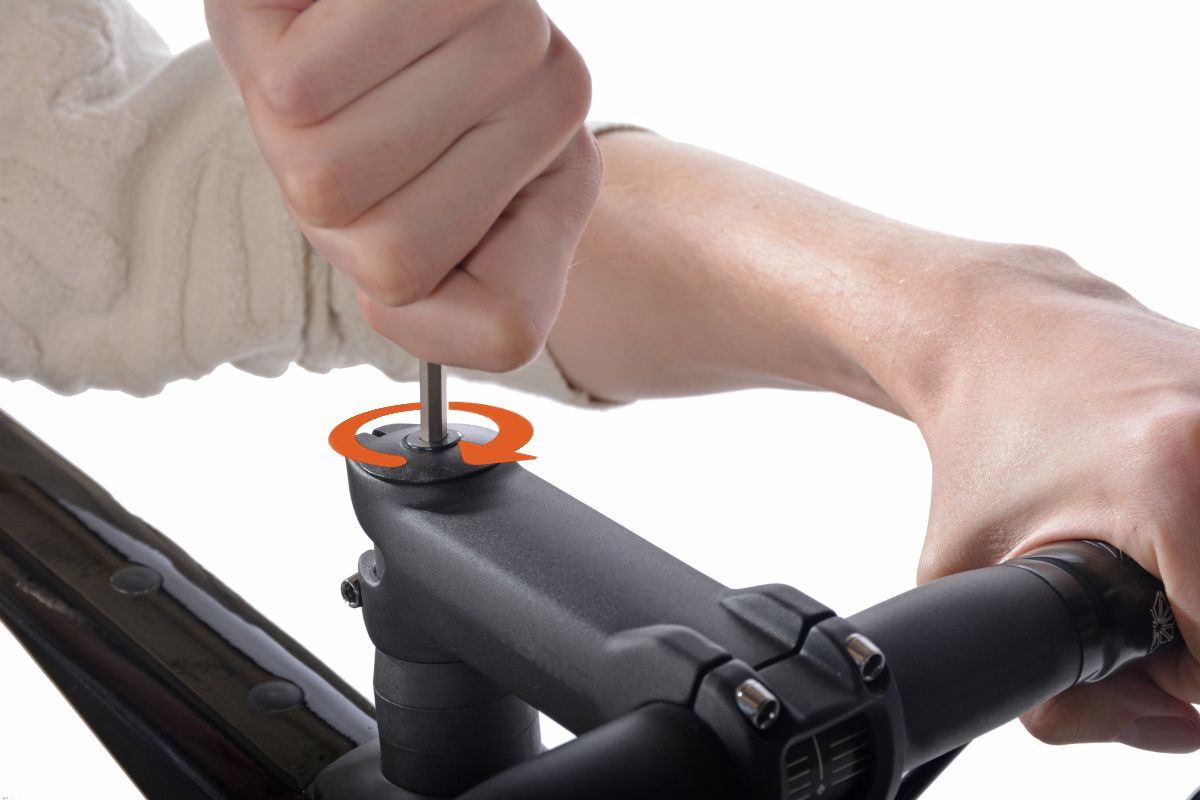
Step 4: Tightening the headset
Once the stem is screwed in, now tighten the screw on the steering stem, following the manufacturer's instructions.
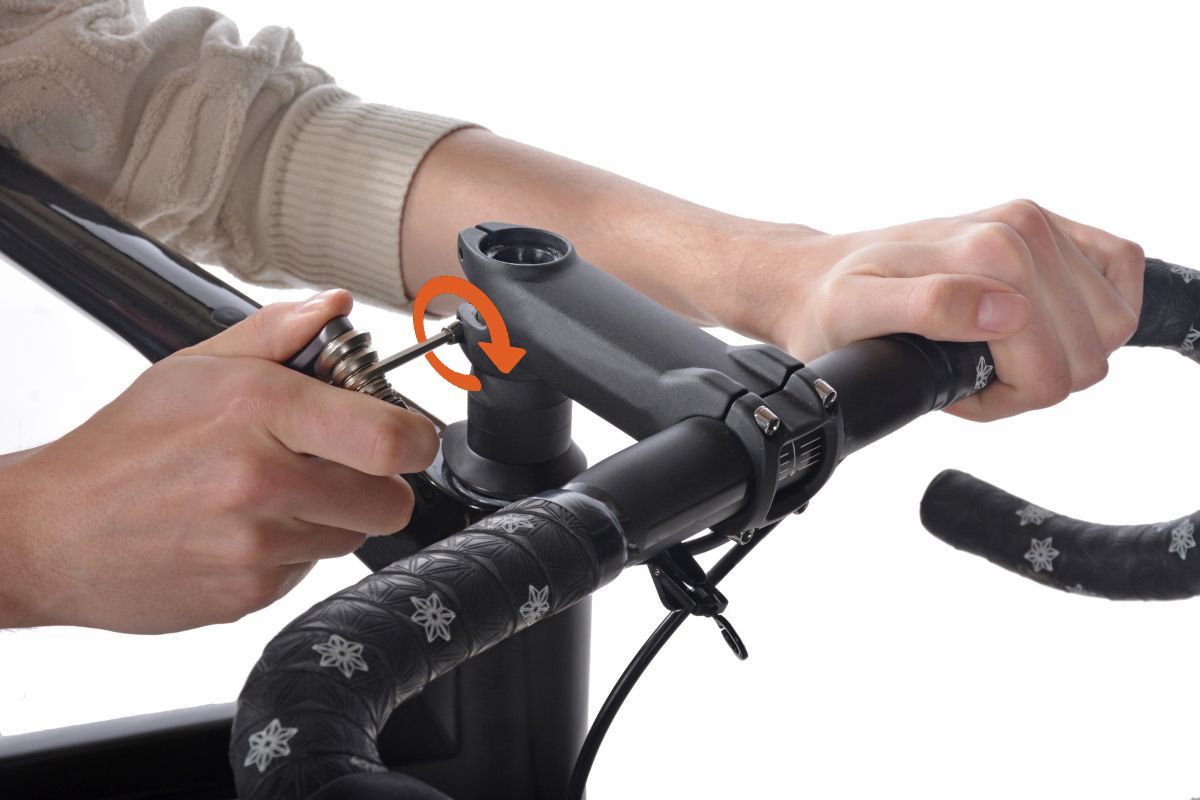
Step 5: tightening the stem
Tighten the bolts that will hold the stem to the head tube. Follow the manufacturer's tightening instructions, usually mentioned on the parts, and make sure that the handlebars are well positioned in the axis: you can check this visually by making sure that the handlebars are both perpendicular to the horizontal tube of your bike, and parallel to the axis of the fork.
Step 6: adjusting the seatpost
Adjust the height of the saddle according to what is most comfortable for you, and once the ideal height is reached, tighten the control screw on the seatpost to keep it from moving.
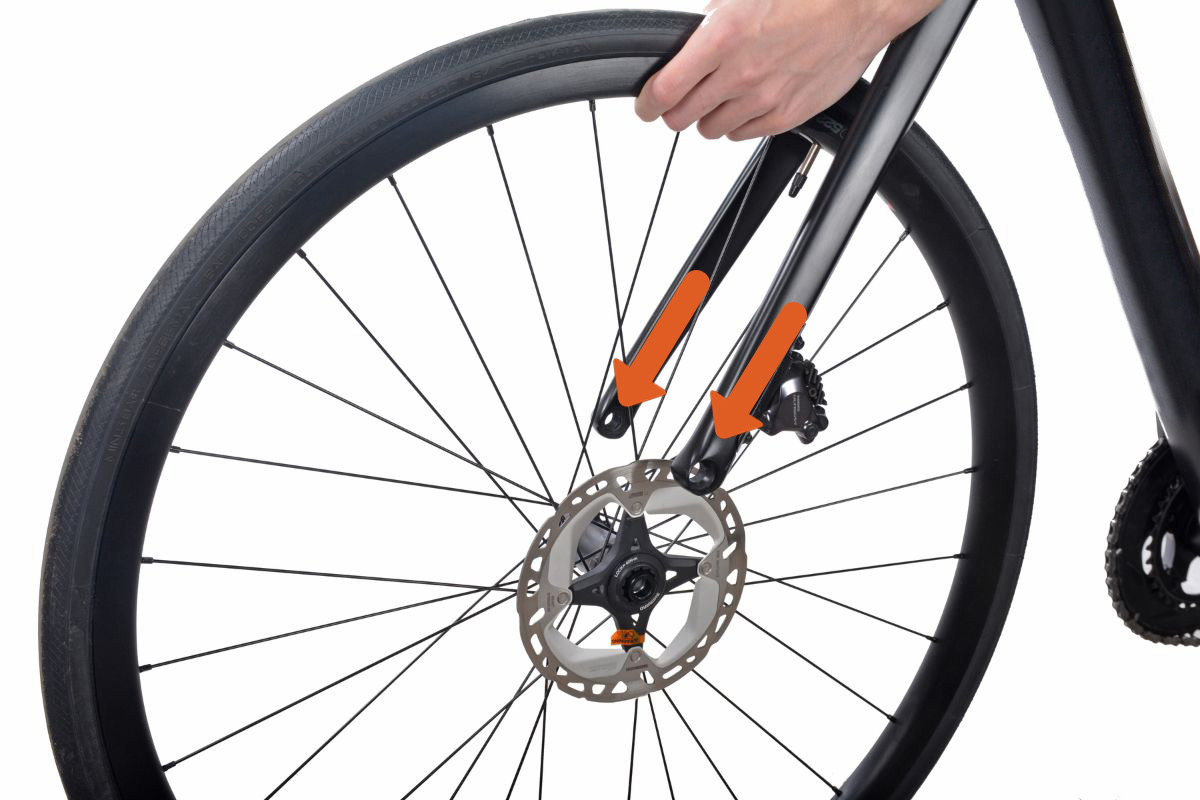
Step 7: Installation of the front wheel
Place the front wheel in the bicycle fork, inserting it into the notches of the fork and making sure to position the brake disc on the wheel between the two brake pads attached to the fork.
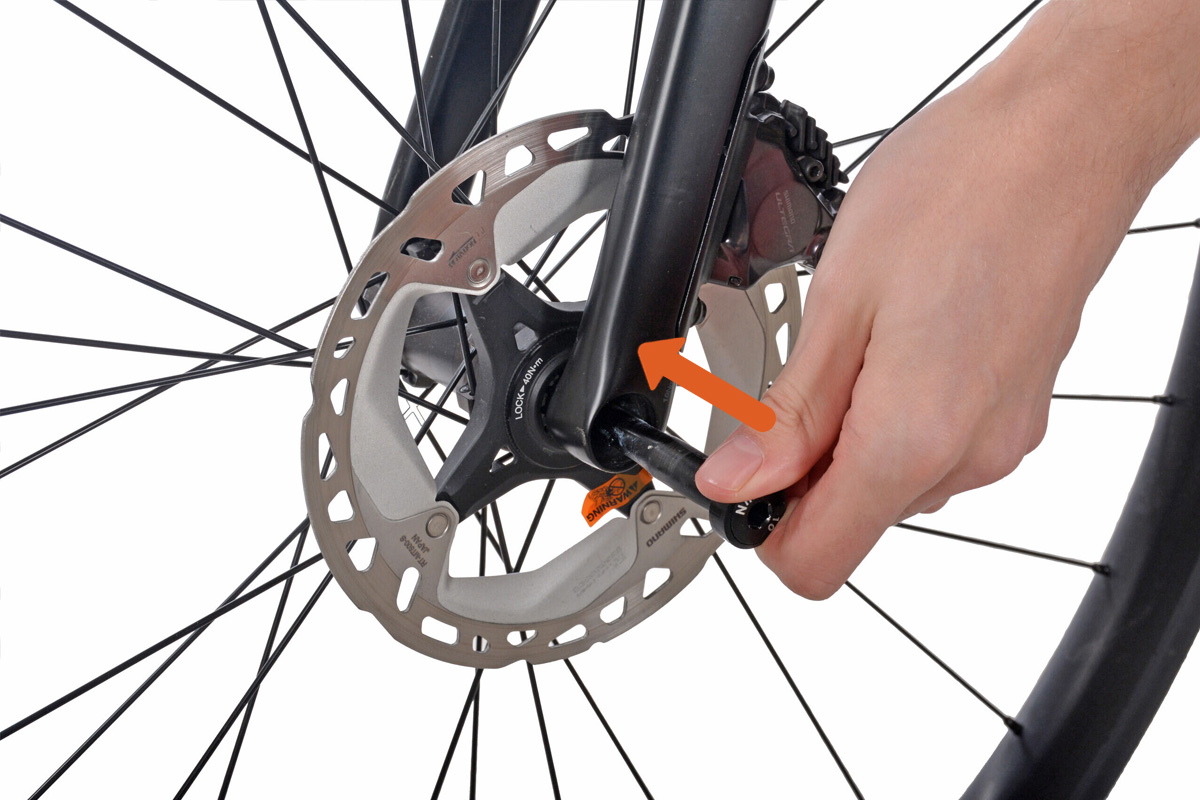
Step 8: inserting the front wheel axle
Once your wheel is in place, insert the front wheel axle in the middle of the wheel.
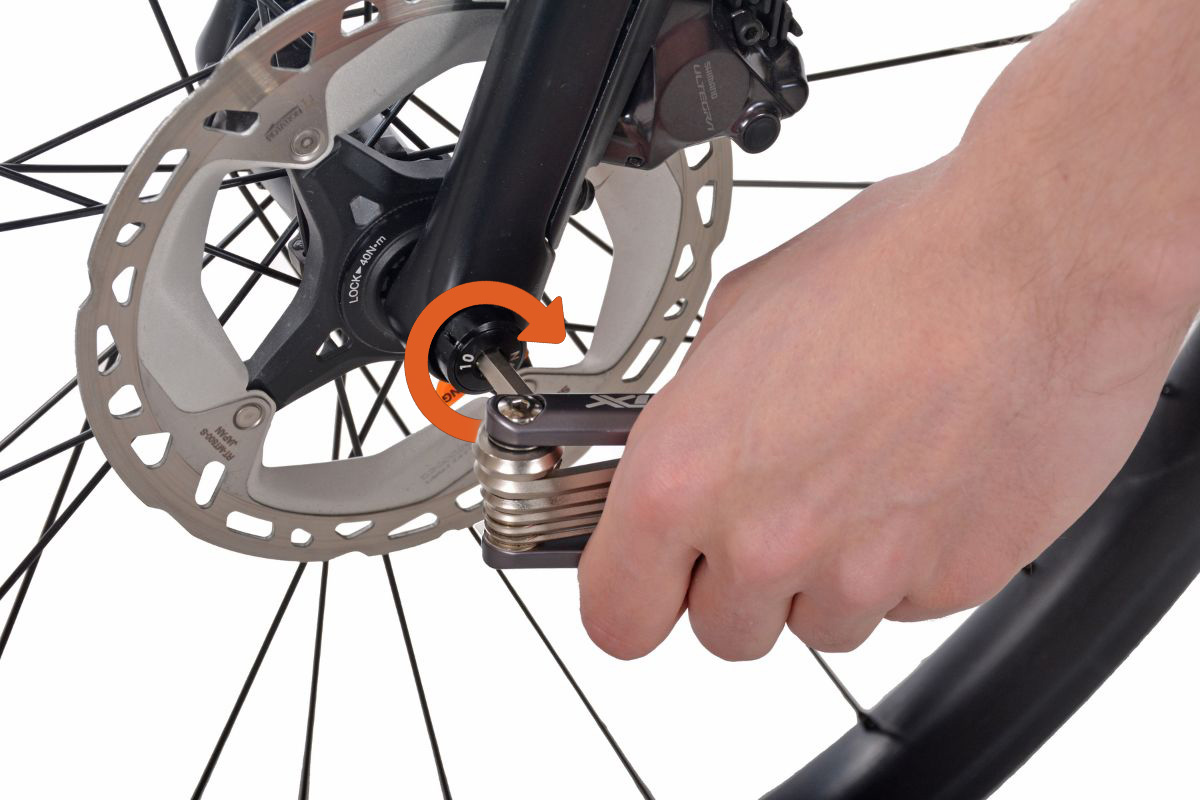
Step 9: tightening the front wheel axle
Once the axle is in place, tighten the axle so that the wheel is securely attached and turns without any play.
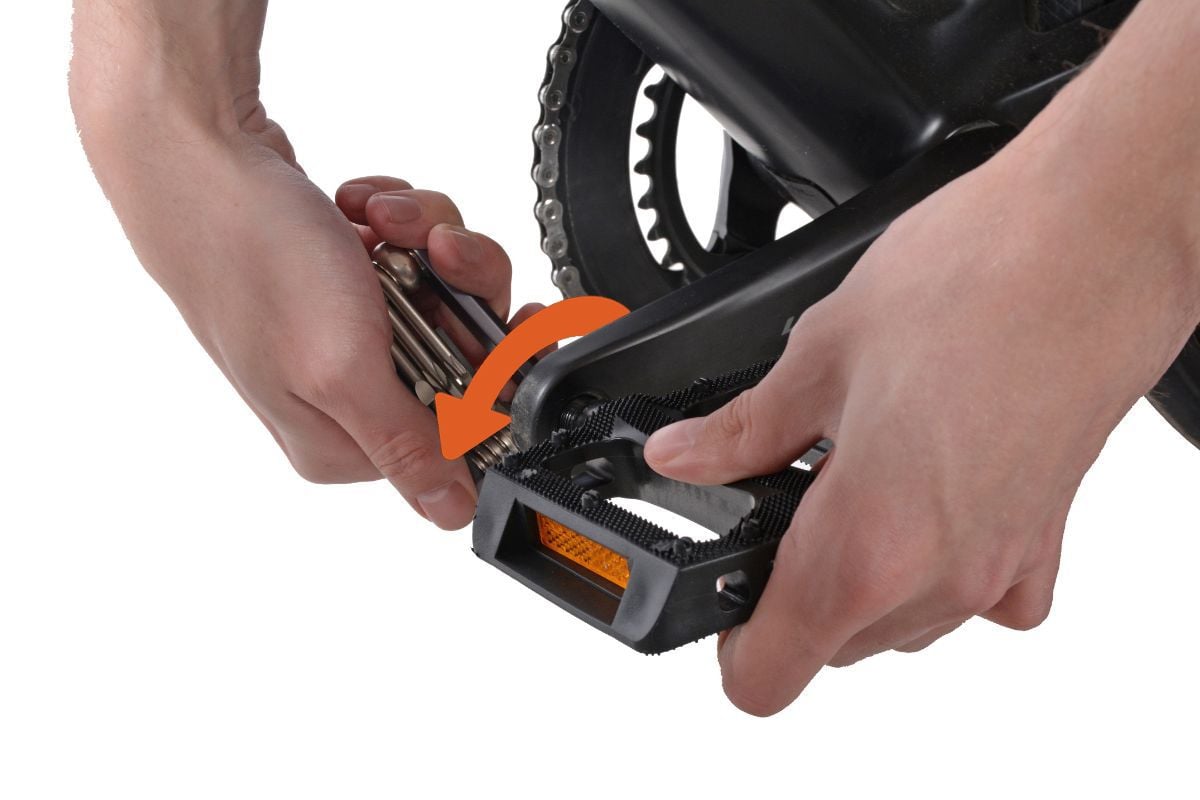
Step 10: Installation of the left pedal
Insert the left pedal into the left crank on your crankset. Then tighten the screw in the direction of travel of the bike, towards the front.
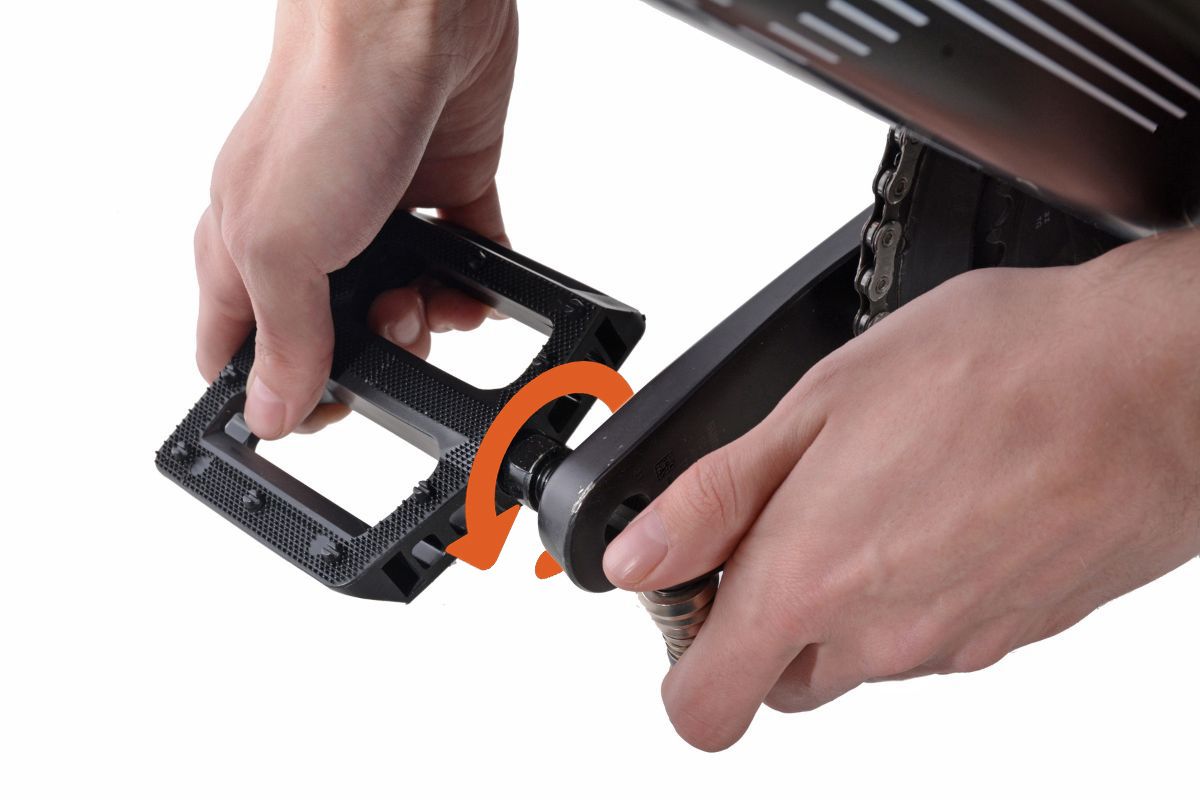
Step 11: Installation of the right pedal
Now insert the right pedal into the right crank on your crankset. As with the other side, tighten the screw in the direction of travel of the bike, towards the front.
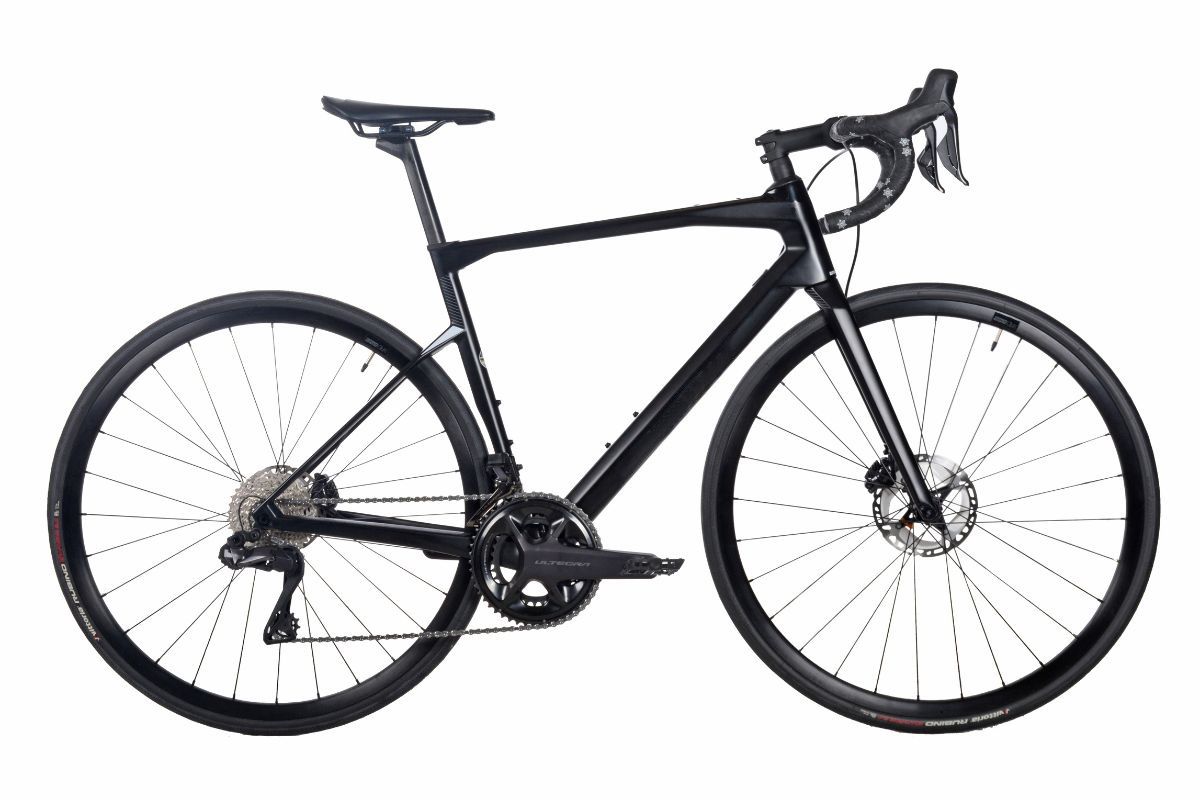
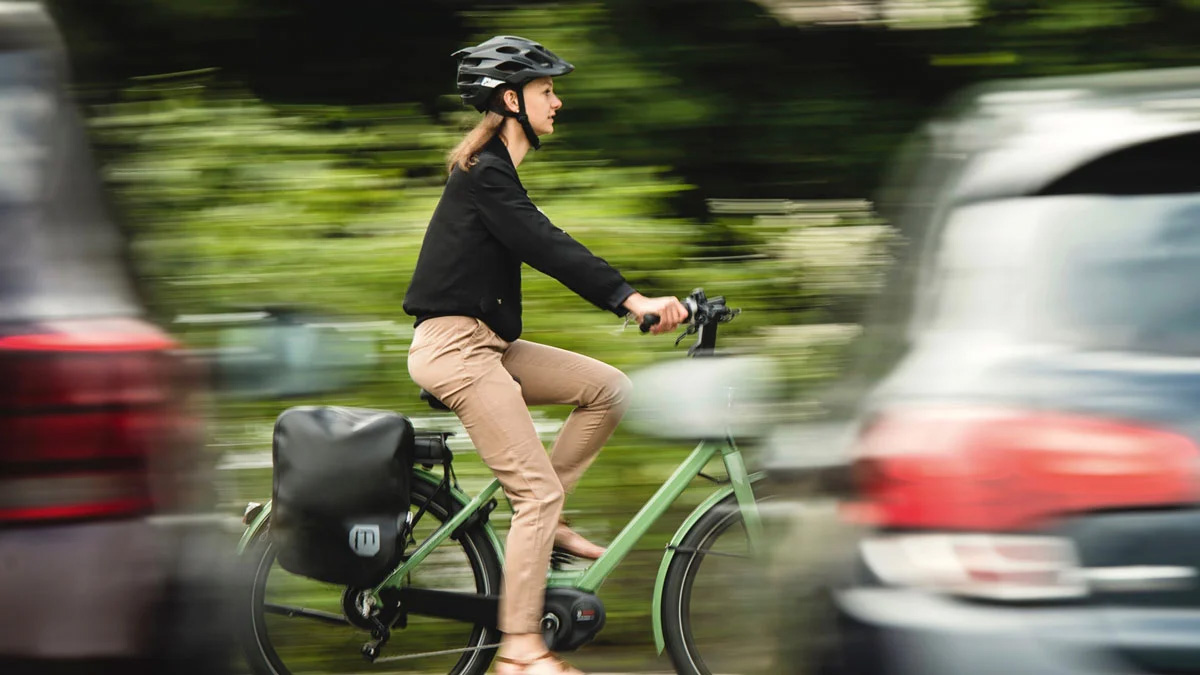
Step 12: admire your bike ready to ride ;)
Your bike is ready to ride! We recommend that you take a short ride around the neighborhood to test the gears one by one, and to warm up the brakes a first time. Have a good ride!
Subscribe to our newsletter and receive our best offers before anyone else!
▪️ Get 10% off your 1st online order*.
▪️ Receive our best offers every week, before anyone else
▪️ Discover every week a favorite product at a reduced price during 48 hours only
▪️ Stay informed about the latest news from your favorite Quilicot store
▪️ Receive our best maintenance tips for your bike


The information below is required for social login